Introduction and Quick Summary
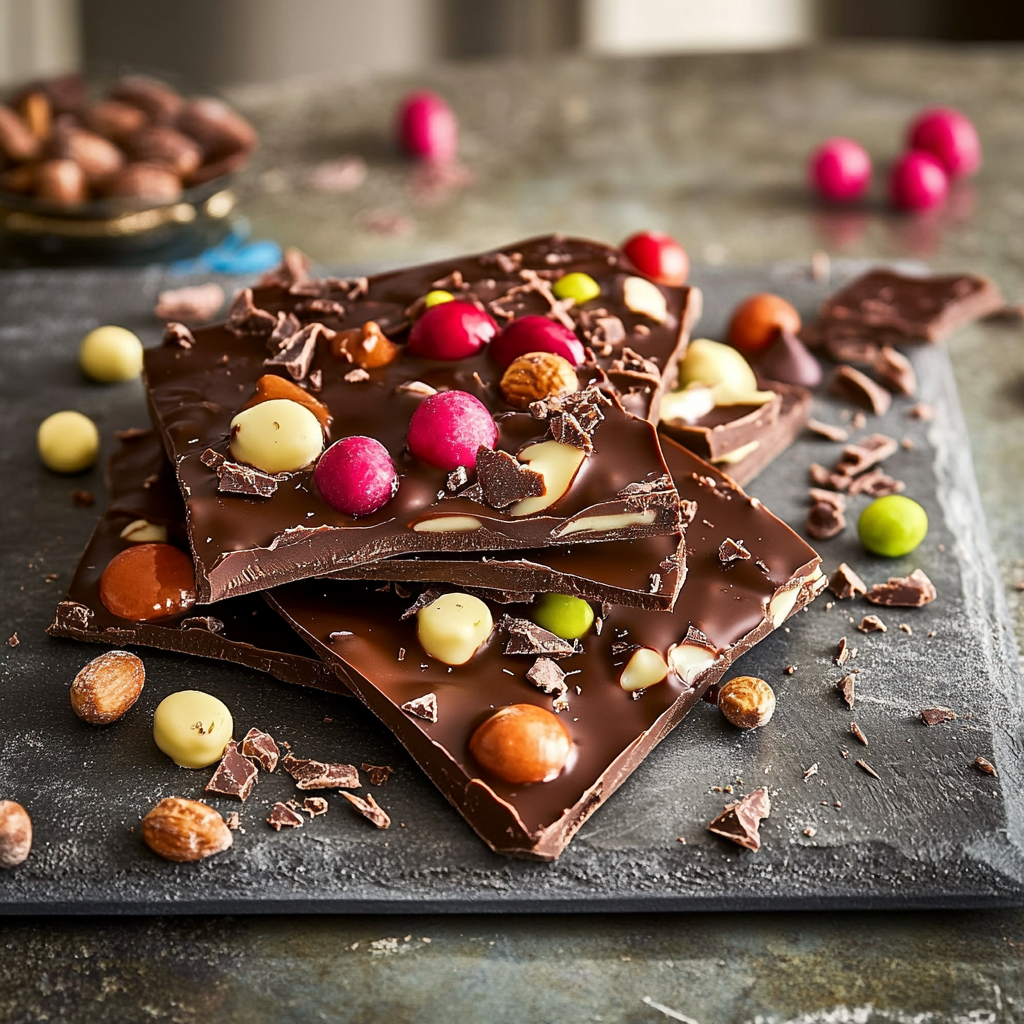
If you’re looking for a delightful treat that makes the perfect gift, look no further than this ultimate guide to making chocolate bark for gifting. Not only is chocolate bark incredibly easy to prepare, but it’s also highly customizable. You can add your favorite toppings or mix-ins to create a unique flavor profile that suits anyone’s taste. Whether you’re preparing for a festive occasion or simply want to surprise someone with a sweet gesture, this versatile treat is sure to impress.
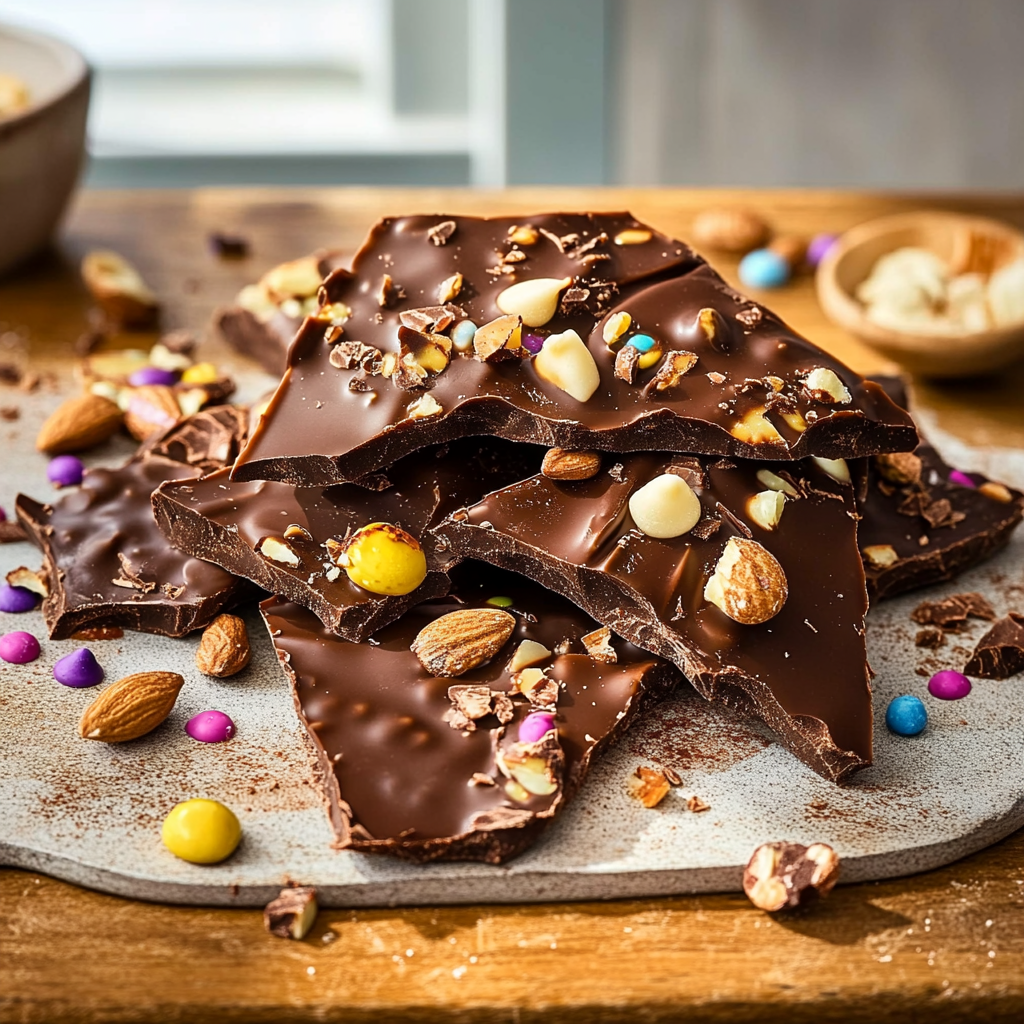
In this guide, we will walk you through everything you need to know about crafting delicious chocolate bark. We’ll cover essential ingredients, provide step-by-step instructions on how to make it from scratch, and offer tips on serving and storing your tasty creations. By the end of this article, you’ll be equipped with all the knowledge needed to whip up batches of beautiful and scrumptious chocolate bark that will surely win hearts. So grab your apron and let’s dive into the world of homemade chocolate delights!
Main Ingredients
Dark Chocolate (12 oz)
Dark chocolate serves as the base for our delectable chocolate bark. It offers a rich flavor that perfectly complements various toppings. Look for high-quality dark chocolate with at least 60% cocoa content for optimal results. When melted, it transforms into a smooth canvas ready to showcase your creativity.
White Chocolate (6 oz)
White chocolate adds a creamy sweetness that balances the bitterness of dark chocolate. It can be drizzled over the top or mixed in with other ingredients for added flair. Ensure you use real white chocolate rather than candy melts; this will ensure better melting and a more authentic flavor.
Nuts (1 cup)
Nuts are an excellent way to add crunch and texture to your chocolate bark. You can choose from almonds, walnuts, pecans, or even pistachios based on your preference. Toasting them lightly before adding them provides a deeper flavor and enhances their crunchiness.
Dried Fruits (1 cup)
Dried fruits such as cranberries or apricots bring a chewy contrast to the crispness of nuts and chocolate. They also add a splash of color that makes your finished product visually appealing. Be sure to chop larger pieces into smaller bits so they distribute evenly throughout the bark.
Sea Salt (to taste)
A sprinkle of sea salt elevates the flavors in your chocolate bark by enhancing its sweetness while adding an unexpected twist. Use flaky sea salt sparingly; it should complement rather than overpower the other flavors.
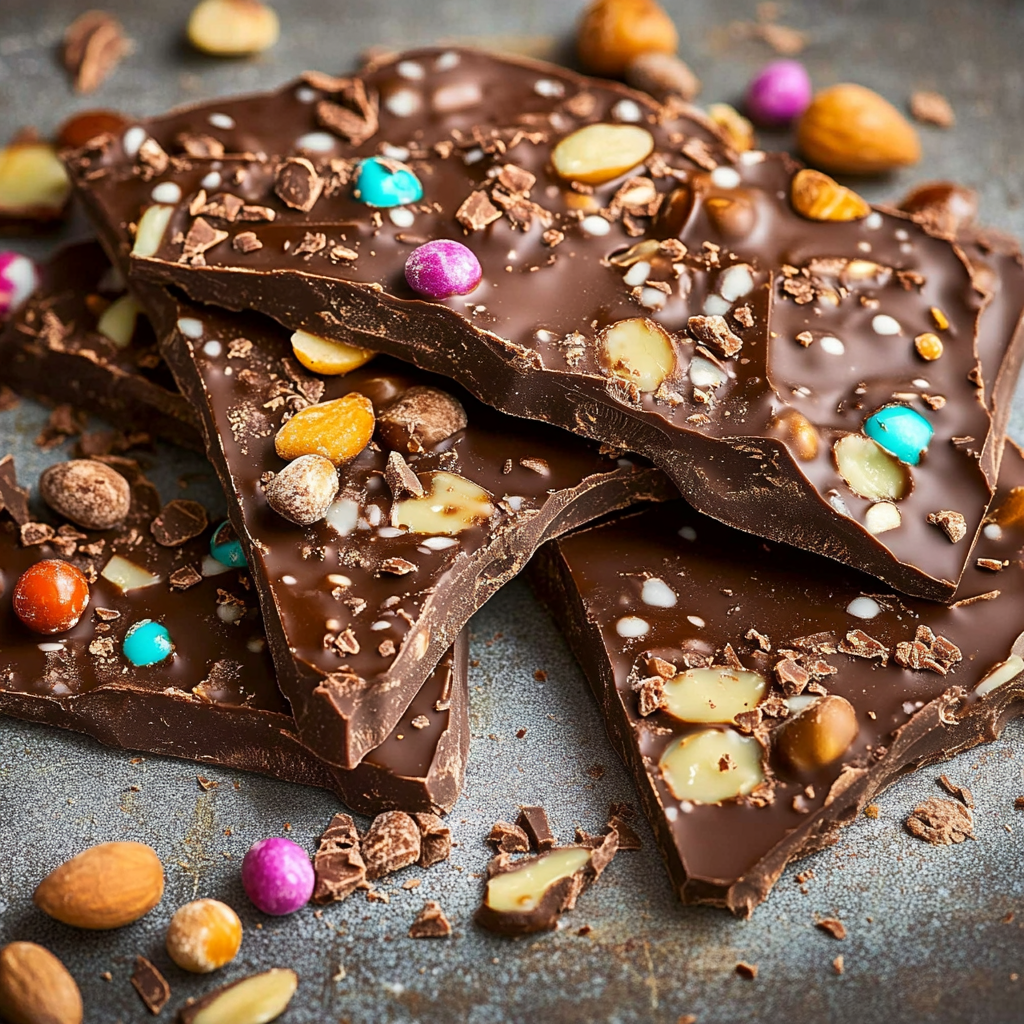
How to Prepare The Ultimate Guide to Making Chocolate Bark for Gifting
Step 1: Prepare Your Ingredients
Start by gathering all your ingredients in one place; organization is key when making any recipe! Chop your nuts and dried fruits into small pieces if necessary; this ensures even distribution throughout the bark. Line a baking sheet with parchment paper—this provides an easy release once your bark has set.
Step 2: Melt the Chocolate
Set up a double boiler by placing a heatproof bowl over simmering water in a saucepan. Add your dark and white chocolates separately into their bowls. Stir continuously until fully melted and smooth; this usually takes around 5-10 minutes depending on heat levels. Make sure not to overheat as burnt chocolate is not pleasant!
Step 3: Combine Ingredients
Once both chocolates are melted, pour half of each type onto your prepared parchment paper-lined baking sheet. Use an offset spatula or back of a spoon to spread them into an even layer about ¼ inch thick. Immediately sprinkle chopped nuts and dried fruits over the melted chocolate before it hardens.
Step 4: Create Swirls
With the remaining melted chocolates reserved earlier, drizzle them over the toppings already placed on top of the spread-out layer using either a spoon or piping bag fitted with a fine tip. This technique creates beautiful swirls that enhance both appearance and flavor.
Step 5: Chill Until Set
Place your baking sheet in the refrigerator so that all layers can set properly—this usually takes about 30 minutes but may vary based on thickness and room temperature conditions! Check periodically until firm enough but still slightly pliable when pressed gently.
Serving and Storing Tips
Serving Suggestions
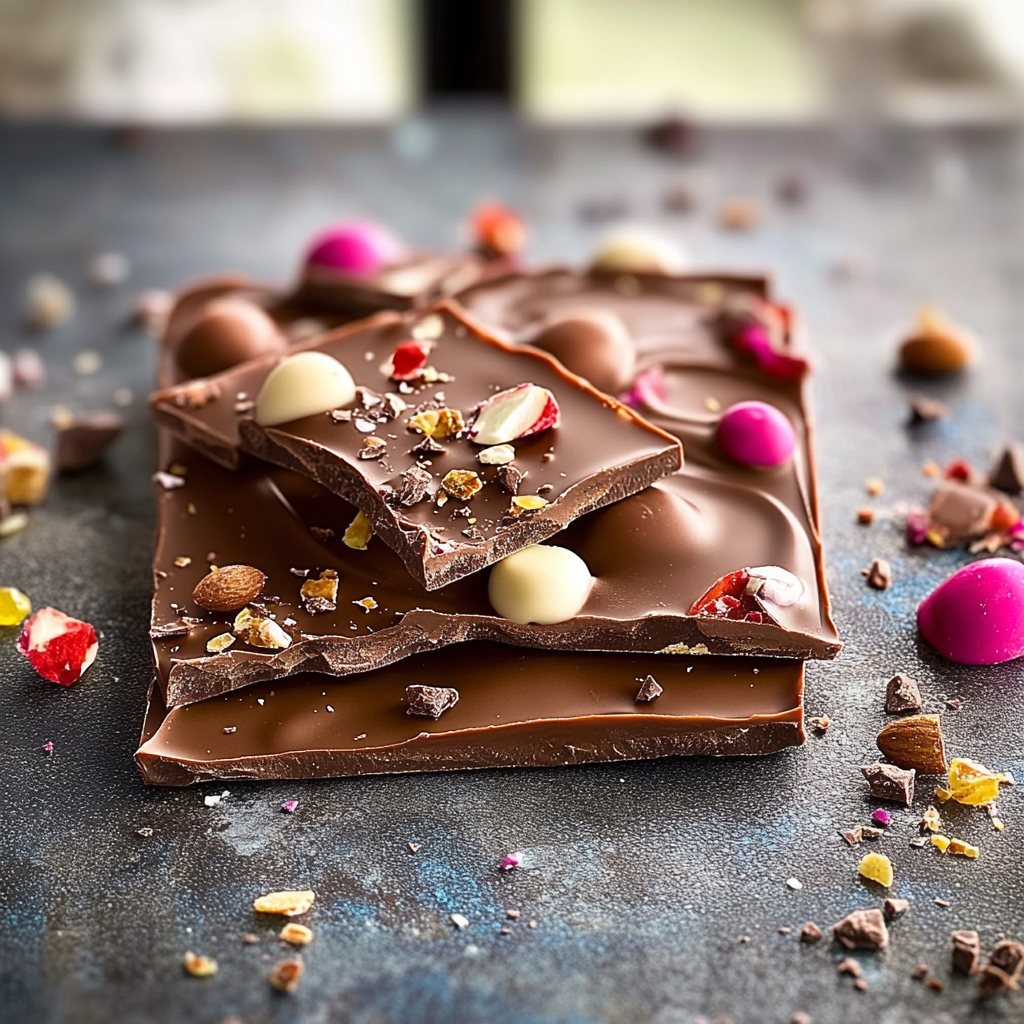
Once set completely, remove from refrigerator and lift out carefully using parchment paper edges before cutting into desired shapes—squares or rectangles work best! You can serve these delightful treats on decorative plates or place them inside clear bags tied with ribbons for an attractive presentation when gifting them away.
Storage Guidelines
To maintain freshness after preparation, store any leftover pieces in an airtight container at room temperature away from direct sunlight or heat sources like ovens! They can last up two weeks if stored properly; however freezing is also an option if you’d like longer shelf life—just ensure they are well-wrapped before freezing!
By following these steps outlined above within this ultimate guide to making chocolate bark for gifting , you’ll gain confidence in creating beautiful confections ready just in time any occasion worthy enough celebrating together over good food shared amongst friends family alike! Enjoy creating memories along with delicious indulgences created straight from kitchen home sweet home!
Mistakes to avoid
One of the most common mistakes when making chocolate bark is not tempering the chocolate properly. Tempering involves heating and cooling the chocolate to stabilize it, ensuring a glossy finish and a satisfying snap. If you skip this step, your chocolate bark may turn out dull and have a less appealing texture. To temper chocolate effectively, melt it slowly over low heat or in a microwave, stirring frequently until it reaches a specific temperature. For dark chocolate, aim for 88-90 degrees Fahrenheit; for milk and white chocolates, target 86-88 degrees Fahrenheit.
Another mistake is using low-quality chocolate. Since chocolate is the primary ingredient in bark, its quality significantly impacts flavor and texture. Avoid using cheap baking chips that contain fillers; instead, opt for high-quality chocolate bars made from real cocoa butter. This choice will enhance the overall taste of your finished product, making it more enjoyable to gift or share.
Additionally, don’t overcrowd your toppings. While it may be tempting to add every delicious topping you can think of, too many can lead to an unbalanced flavor profile. Instead, choose a few complementary toppings that enhance the chocolate without overwhelming it. Aim for two to three toppings per batch of bark—think nuts paired with dried fruit or crushed candy canes alongside sea salt for a festive touch.
Lastly, avoid cutting your bark too soon after it has set. Patience is key when making chocolate bark! If you attempt to slice into your creation too early, it may crumble or break unevenly. Allow the bark to cool completely at room temperature before breaking it into pieces for gifting or enjoying yourself.
Tips and tricks
To make the best chocolate bark possible, always start with clean tools and surfaces. Any water or moisture introduced during the melting process can cause the chocolate to seize up, resulting in a grainy texture that’s difficult to work with. Make sure all bowls, utensils, and work surfaces are thoroughly dry before beginning your recipe.
Using parchment paper on your baking sheet is another helpful tip. This simple addition prevents sticking and makes lifting the finished product off much easier once set. You can pour the melted chocolate directly onto parchment paper and spread it out evenly with a spatula for uniform thickness.
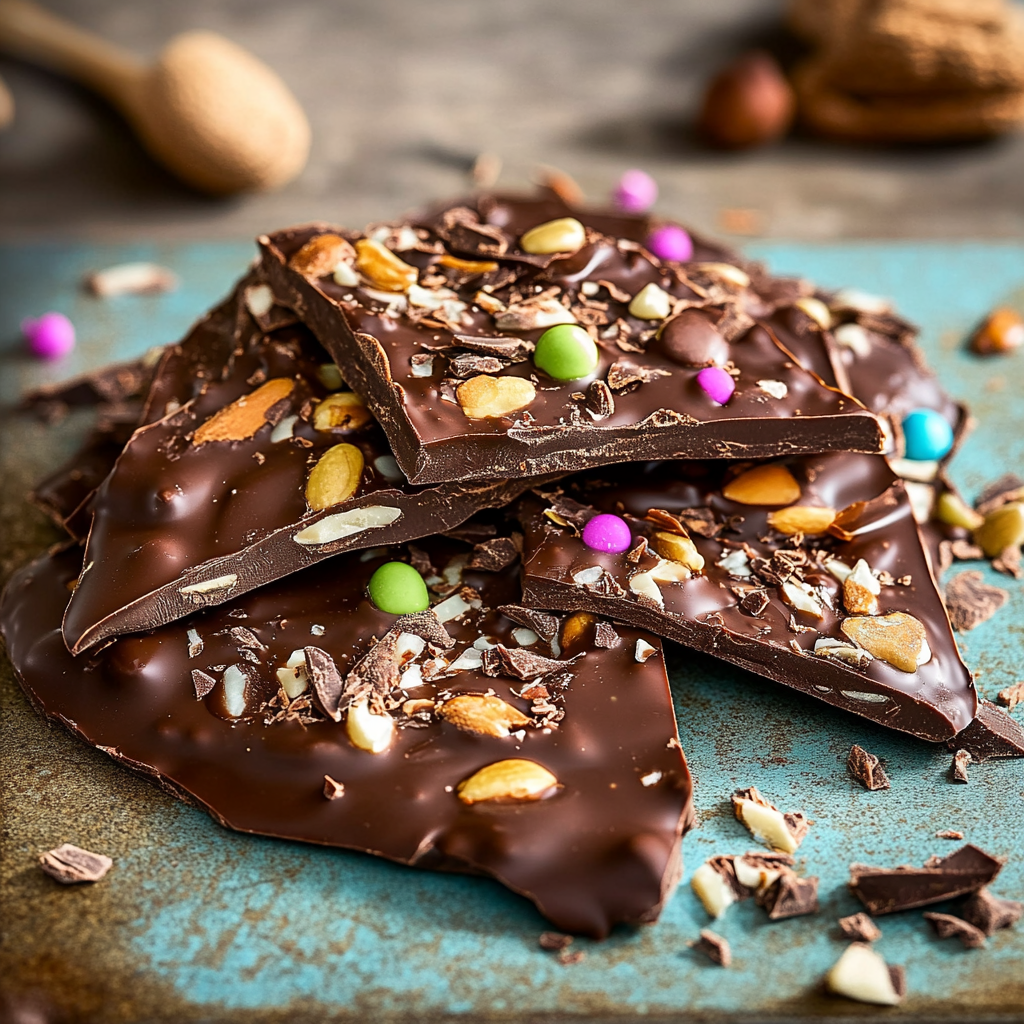
When selecting toppings for your bark, consider textures as well as flavors. Mixing smooth chocolates with crunchy nuts or chewy dried fruits creates an exciting eating experience that delights the palate. You could also consider including spices like cinnamon or cayenne pepper for an unexpected kick that enhances flavor complexity.
Experimentation is key! Don’t hesitate to try different combinations of chocolates and toppings until you find what you love most. From dark chocolate mixed with sea salt caramel bits to white chocolate adorned with pistachios and dried cranberries—there are virtually endless combinations waiting to be explored.
Lastly, remember that presentation matters when gifting your homemade treats. Use decorative packaging such as cellophane bags tied with ribbons or festive boxes that reflect the occasion. A thoughtful presentation makes your gifts even more special while showing recipients that you put time and effort into creating something delightful.
Suggestions for The Ultimate Guide to Making Chocolate Bark for Gifting
Plan ahead by choosing recipes that suit various tastes—this ensures everyone on your gifting list finds something they enjoy! Consider dietary restrictions such as nut allergies or preferences like vegan options when selecting recipes for your homemade treats.
Utilize seasonal ingredients wherever possible; using fresh berries in summer or peppermint candies during winter holidays adds vibrancy while promoting local produce consumption throughout the year.
Consider personalizing each batch of bark by incorporating favorite flavors associated with individuals receiving these gifts! For instance: if someone loves coffee flavoring—add espresso powder into dark-chocolate mixtures before spreading them out on parchment paper!
Batch-making is another fantastic suggestion—you can prepare multiple varieties at once! This method streamlines production time while allowing you greater flexibility when deciding which flavors complement each other best.
Don’t forget about storage! Keep leftover bark fresh by wrapping pieces individually in plastic wrap before placing them inside airtight containers in cool environments away from direct sunlight exposure which could affect their quality over time!
FAQs
What type of chocolate should I use for making chocolate bark?
The best type of chocolate for making chocolate bark depends on personal preference but generally includes high-quality dark, milk, or white chocolates made from real cocoa butter rather than cheap baking chips filled with fillers. Dark chocolate offers rich flavors while milk provides creaminess; white adds sweetness without bitterness—experimenting will help you determine what suits your taste!
How long does homemade chocolate bark last?
Homemade chocolate bark typically lasts about two weeks if stored correctly in an airtight container at room temperature away from direct sunlight heat sources humidity levels fluctuating greatly throughout day-to-day life! For longer storage times (upwards of three months), consider freezing individual pieces wrapped tightly—but allow them time thaw before enjoying again afterward!
Can I customize my toppings on the chocolate bark?
Absolutely! Customizing toppings allows creativity during preparation! Consider mixing nuts like almonds cashews walnuts raisins dried fruit such as apricots cranberries coconut flakes crushed cookies candy bars sprinkle sea salt flavored spices like cinnamon cayenne pepper providing unique combinations reflecting tastes preferences loved ones receiving gifts ultimately enhancing overall experience enjoyed together!
Is there a vegan option for making chocolate bark?
Yes! Vegan options exist by replacing non-vegan ingredients through plant-based alternatives such as dairy-free chocolates made from almond coconut soy milks combined with various toppings consisting solely sourced plants ensuring delicious results without compromising ethics preferences associated lifestyles chosen individuals receiving gifts treated thoughtfully!
How do I know when my melted chocolate is ready?
Melted chocolates should appear smooth glossy without any lumps visible across surface area after achieving optimal temperatures suitable respective types being used: dark (88-90°F), milk/white (86-88°F). Stirring continuously enables even heat distribution preventing overheating leading undesirable texture issues arising later down line upon cooling stages affecting enjoyment overall experience created during gifting process shared amongst friends family members alike!
Can I add spices to my melted chocolate?
Yes! Adding spices enhances flavor profiles significantly within melted chocolates—consider experimenting lightly sprinkling cinnamon cayenne pepper chili powder enhancing overall depth complexity achieved while preparing treats tailored specifically towards individual preferences particularly those recipients fond adventurous culinary experiences seeking something new exciting explore together this holiday season!
Conclusion
In conclusion, mastering the art of making delightful chocolate bark takes practice but offers immense satisfaction both in creation consumption alike! By avoiding common mistakes such as improper tempering selecting low-quality chocolates overcrowding toppings cutting too soon; incorporating tips including cleanliness using parchment paper mixing textures experimenting boldly—your efforts will result in beautiful edible gifts everyone enjoys sharing celebrating moments together! Remember essential suggestions regarding planning ahead utilizing seasonal ingredients personalizing batches storing leftovers properly ensuring freshness longevity—all contributing factors ensure success maximize enjoyment gained throughout entire gifting process create lasting memories cherished forevermore fondly remembered times spent together among friends family members alike during festive occasions year-round celebrations alike!


