Introduction and Quick Summary
Are you ready to embark on a delightful culinary journey? Learning how to make sourdough bread at home is not only rewarding but also incredibly satisfying. This ancient technique of baking is rooted in tradition yet offers endless possibilities for creativity. In this guide, you will discover essential tips and tricks to master this art form. Whether you are a complete novice or someone who has dabbled in baking before, our beginner’s tips will ensure that your first loaf is a success.
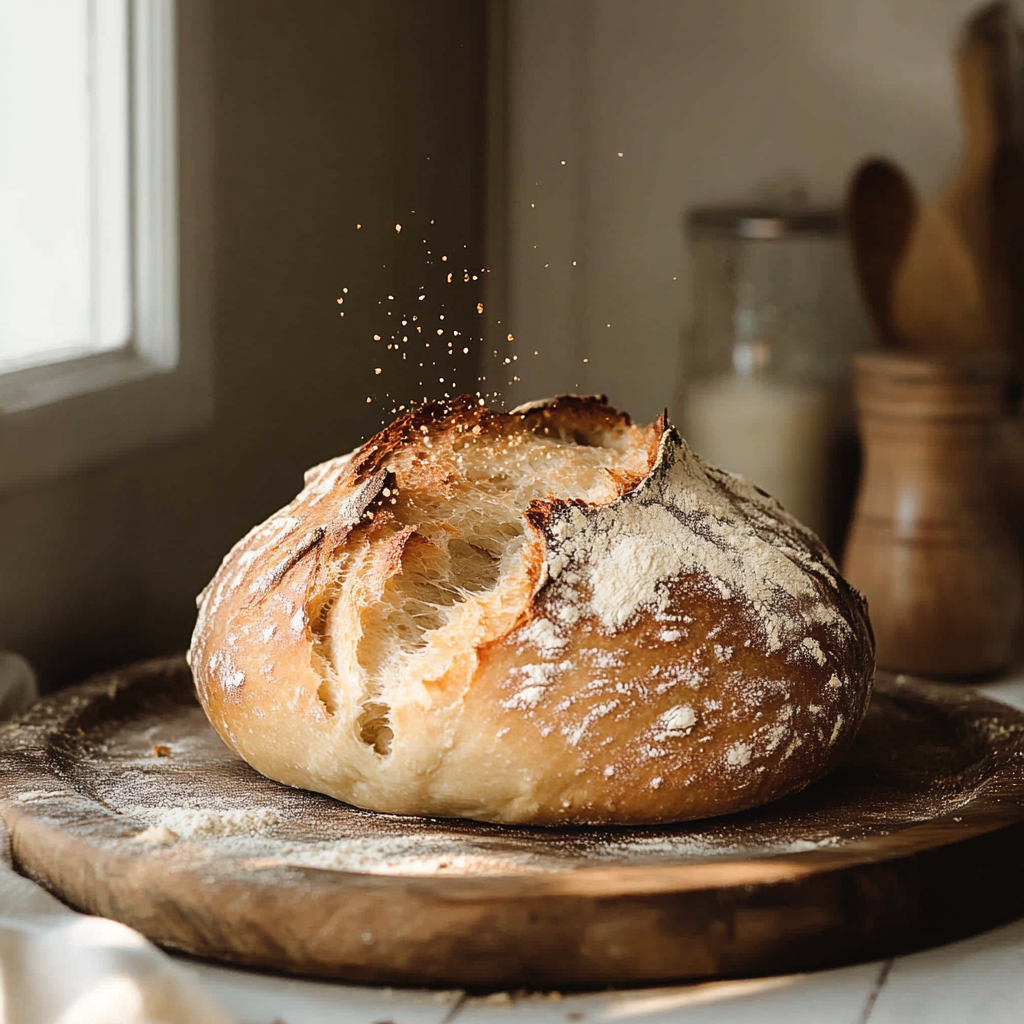
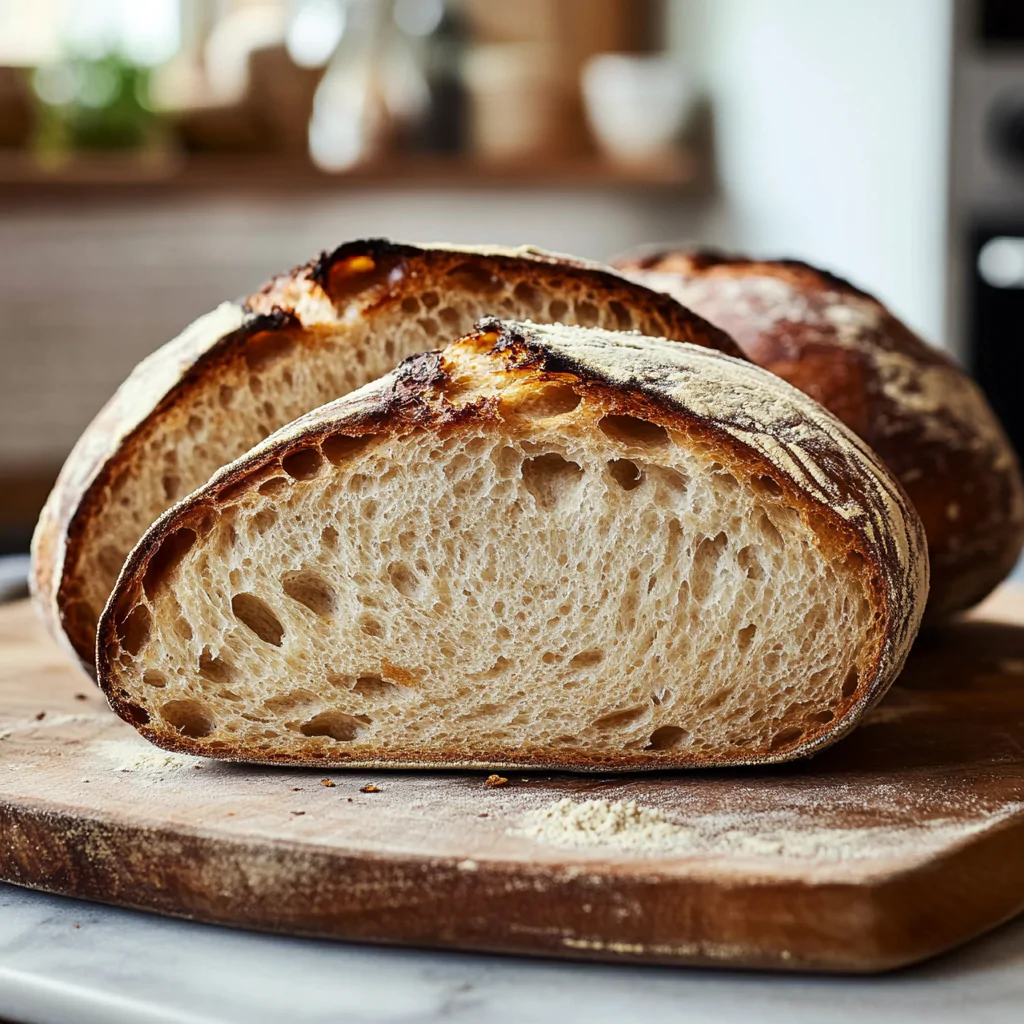
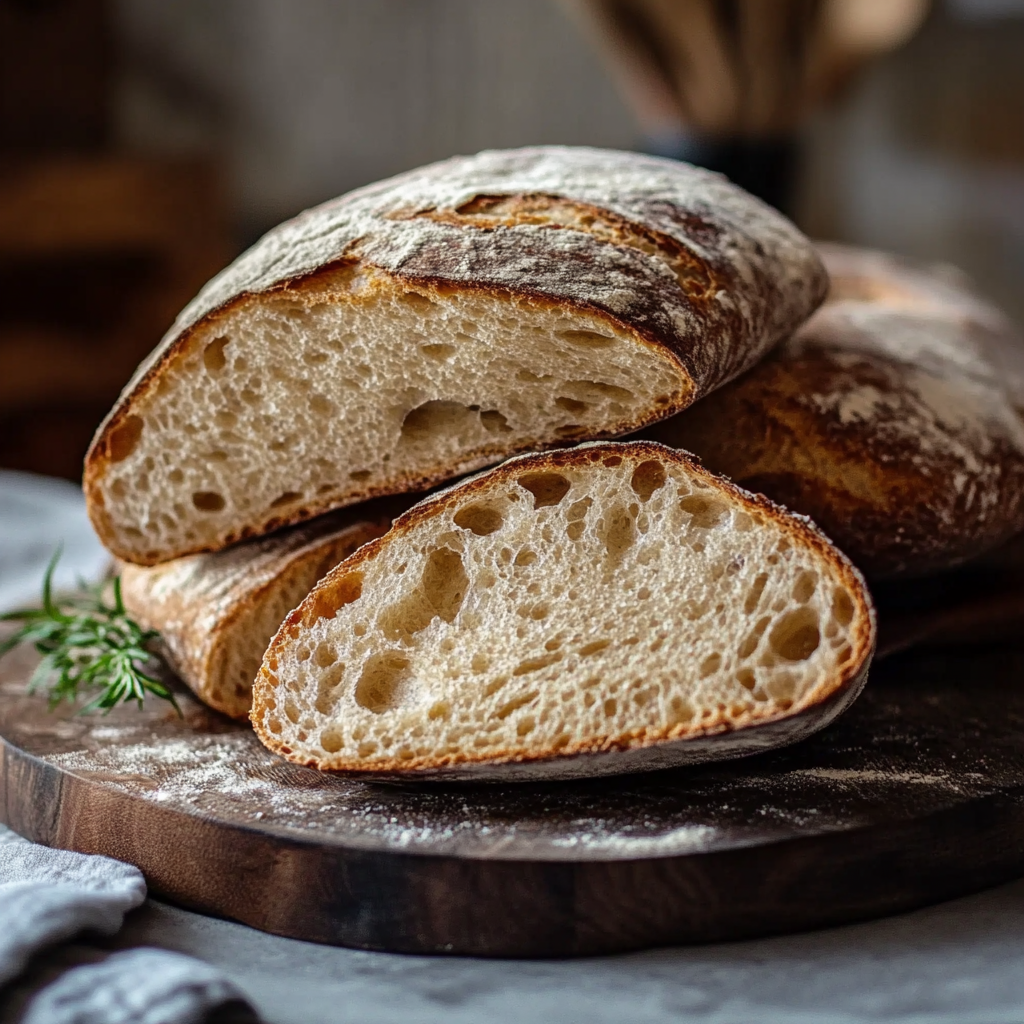
Sourdough bread stands out due to its unique flavor profile and chewy texture. The process involves cultivating wild yeast and bacteria found in the environment, which makes it distinct from commercial yeast breads. With patience and practice, you’ll learn how to create a perfectly crusty exterior and a soft, airy crumb inside. Plus, making your own sourdough can be healthier since it contains fewer preservatives than store-bought options.
As we dive into the ingredients and preparation methods, remember that each step plays a crucial role in the final outcome. So roll up your sleeves and let’s get started on this exciting adventure of how to make sourdough bread at home!
Main Ingredients
Flour (500g)
Flour acts as the foundation of any bread recipe. For sourdough, it’s best to use high-quality all-purpose flour or bread flour containing 10-12% protein. This protein contributes to gluten development, giving your dough strength and elasticity. Additionally, consider incorporating whole wheat or rye flour for added flavor and nutrition; however, adjusting hydration levels may be necessary due to their different absorption rates.
Water (350ml)
Water is vital for hydrating the flour and activating the yeast cultures present in your starter. Use filtered or bottled water if possible since chlorine in tap water can hinder fermentation. The temperature of the water matters too; lukewarm water (around 30°C) helps promote yeast activity while maintaining an optimal environment for fermentation.
Salt (10g)
Salt not only enhances the flavor of your sourdough but also strengthens gluten structure during fermentation. It helps control fermentation speed by regulating yeast activity, preventing over-proofing. Always use fine sea salt or kosher salt for even distribution throughout your dough.
Sourdough Starter (100g)
Your sourdough starter is the heart of your bread-making process. It contains naturally occurring wild yeast and bacteria that leaven your dough. A healthy starter should be bubbly and have a pleasant aroma. If you don’t have one yet, you can easily create it from flour and water over about five days by regularly feeding it until it becomes active.
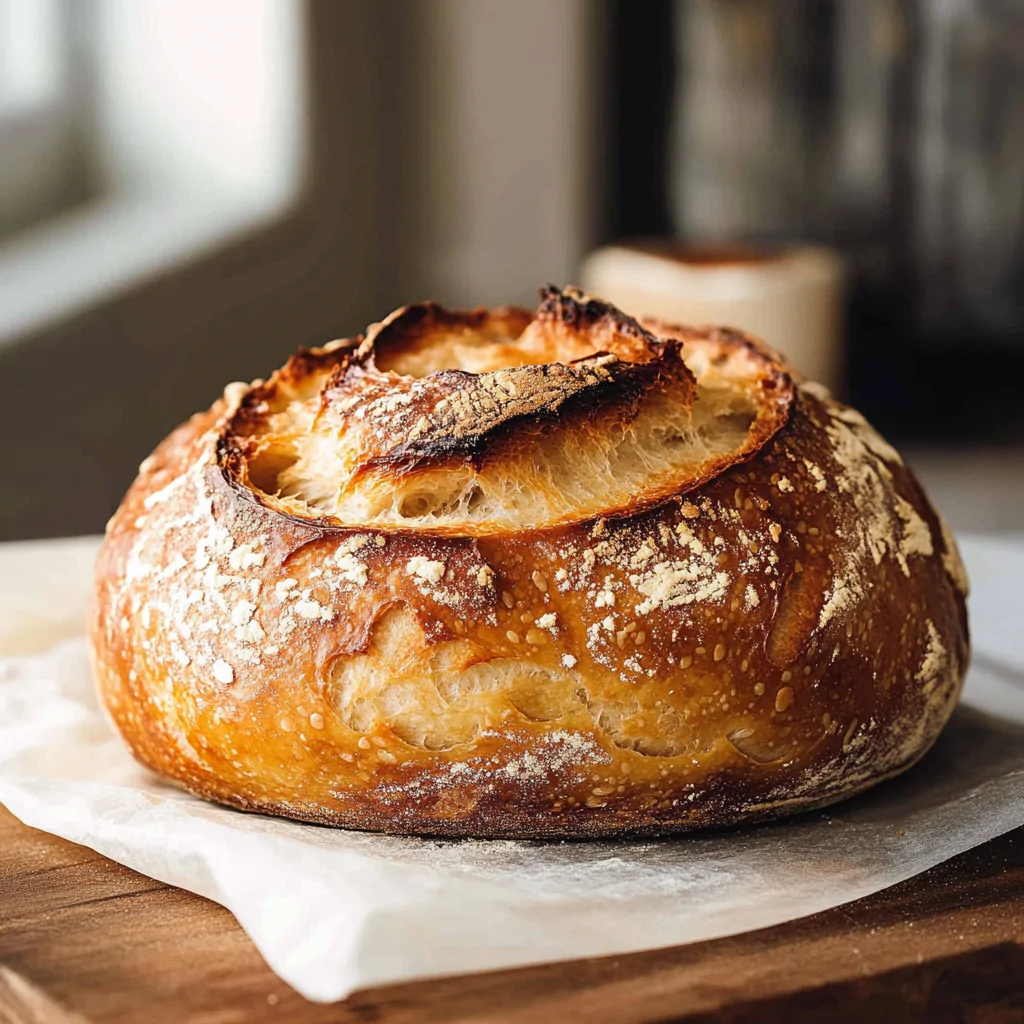
How to Prepare How to Make Sourdough Bread at Home: Beginner’s Tips
Step 1: Create Your Dough
Begin by mixing your flour and water in a large bowl until there are no dry bits left. This initial mix is called autolyse and allows the flour to absorb water thoroughly, which improves gluten formation later on. Let it rest for about 30 minutes before adding salt and your active sourdough starter.
Once rested, sprinkle the salt over the dough along with the starter. Using your hands or a spatula, mix everything together until fully incorporated; this will take around five minutes. You should feel some resistance as gluten begins developing. After combining all ingredients well, cover the bowl with a damp cloth or plastic wrap and let it sit at room temperature for approximately four hours for bulk fermentation.
Step 2: Stretch and Fold Technique
During bulk fermentation, it’s important to strengthen your dough through stretch-and-fold techniques every 30 minutes for the first two hours after mixing. To do this, wet your hands lightly to prevent sticking; grab one side of the dough and stretch it upwards before folding it back onto itself gently. Rotate the bowl 90 degrees after each fold so that you incorporate all sides evenly.
Continue this process four times within two hours—this action encourages gluten development without excessive kneading. After completing this stage of fermentation time should allow bubbles to form on top of your dough signaling that it’s ready for shaping.
Step 3: Shaping Your Dough
After bulk fermentation completes successfully—usually indicated by doubling in size—it’s time for shaping! Transfer the dough onto a lightly floured surface; using a bench scraper can help prevent sticking during this process.
Gently flatten out your dough into a rectangle shape with minimal pressure; then fold each corner towards the center like an envelope before flipping it over seam side down—this creates tension on top which helps achieve that beautiful dome shape later on! Allow it rest covered with a kitchen towel while preparing your proofing basket lined with parchment paper into which you’ll place shaped loaf once finished.
Step 4: Final Proofing
After shaping comes final proofing—a crucial step where flavors develop further as air bubbles continue forming inside! Place shaped loaf seam side up into proofing basket dusted lightly with flour; cover again using damp cloth ensuring moisture retention during this phase lasting anywhere between one hour (for warm environments) up until overnight refrigeration if desired flavors deepen overnight!
The longer proofing also allows more complex flavors emerge creating more distinctive taste profiles unique each time baked! An easy way check readiness involves gently pressing down surface of loaf; if indentation springs back slowly—it indicates perfect readiness!
Serving and Storing Tips
Serving Suggestions
When serving freshly baked sourdough bread at home there are countless ways enhance its flavor! Consider slicing warm loaves straightaway enjoying them plain—with butter—or perhaps pair alongside artisanal cheeses charcuterie boards served alongside seasonal fruits nuts too! Alternatively toast slices drizzled honey topped strawberries create delightful breakfast option perfect any day week!
You might also want garnishing dishes like soups stews enhancing overall meal experience offering crusty texture complementing creamy goodness within bowls! Experimentation leads delightful discoveries unexpected combinations please palate while enjoying wholesome goodness homemade creations provide!
Storing Guidelines
Proper storage ensures that leftover loaves remain fresh longer while preserving textures flavors intact! Once cooled completely wrap loaves tightly plastic wrap storing them airtight container room temperature prevents drying out retaining moisture balance retains crustiness freshness well!
For extended storage consider freezing sliced portions placing parchment paper layers between slices preventing sticking together when thawed enjoyed later convenient meals week ahead! Simply toast directly from frozen state without needing thawing beforehand achieving crispy results quickly served hot directly plate!
By following these guidelines on how to make sourdough bread at home you’ll gain confidence mastering skills needed enjoy incredible satisfaction baking personal loaves perfect sharing loved ones friends alike! Happy baking!
Mistakes to avoid
When learning how to make sourdough bread at home, beginners often face common pitfalls that can lead to disappointing results. One crucial mistake is neglecting the importance of proper measurements. Accurate ingredient ratios are essential for achieving the right texture and flavor. Always use a kitchen scale for precise measurements, especially when it comes to flour and water.
Another common error is not allowing enough time for fermentation. Sourdough relies on natural yeast and bacteria, which need time to develop flavor and structure. Rushing this process can result in dense bread with a lackluster taste. Be patient and give your dough ample time to rise.
Many beginners also overlook the significance of temperature in bread-making. Yeast works best within a specific temperature range; too hot or too cold can hinder its activity. Ideally, maintain a warm environment during fermentation, around 75°F (24°C), to encourage optimal rising.
Lastly, skipping the autolyse stage is another mistake many make. Autolyse involves mixing flour and water before adding salt and starter. This step enhances gluten development, leading to a better rise and texture in your sourdough bread. Taking the time to include this process will pay off in the final product.
Tips and tricks
To master how to make sourdough bread at home, consider implementing these helpful tips and tricks. First, start your journey with a robust starter. A healthy sourdough starter is vital for successful bread-making. Feed it regularly with equal parts flour and water until it becomes bubbly and active before using it in your recipe.
Another beneficial tip is to practice stretch and fold techniques during bulk fermentation. Instead of traditional kneading, gently stretch the dough every 30 minutes for the first few hours of fermentation. This process strengthens gluten without deflating the dough, resulting in a lighter loaf.
Keep an eye on hydration levels as well; adjusting water content can greatly affect your final loaf’s texture. Higher hydration leads to a more open crumb structure but requires more careful handling. Experiment with different hydration levels to find what works best for you.
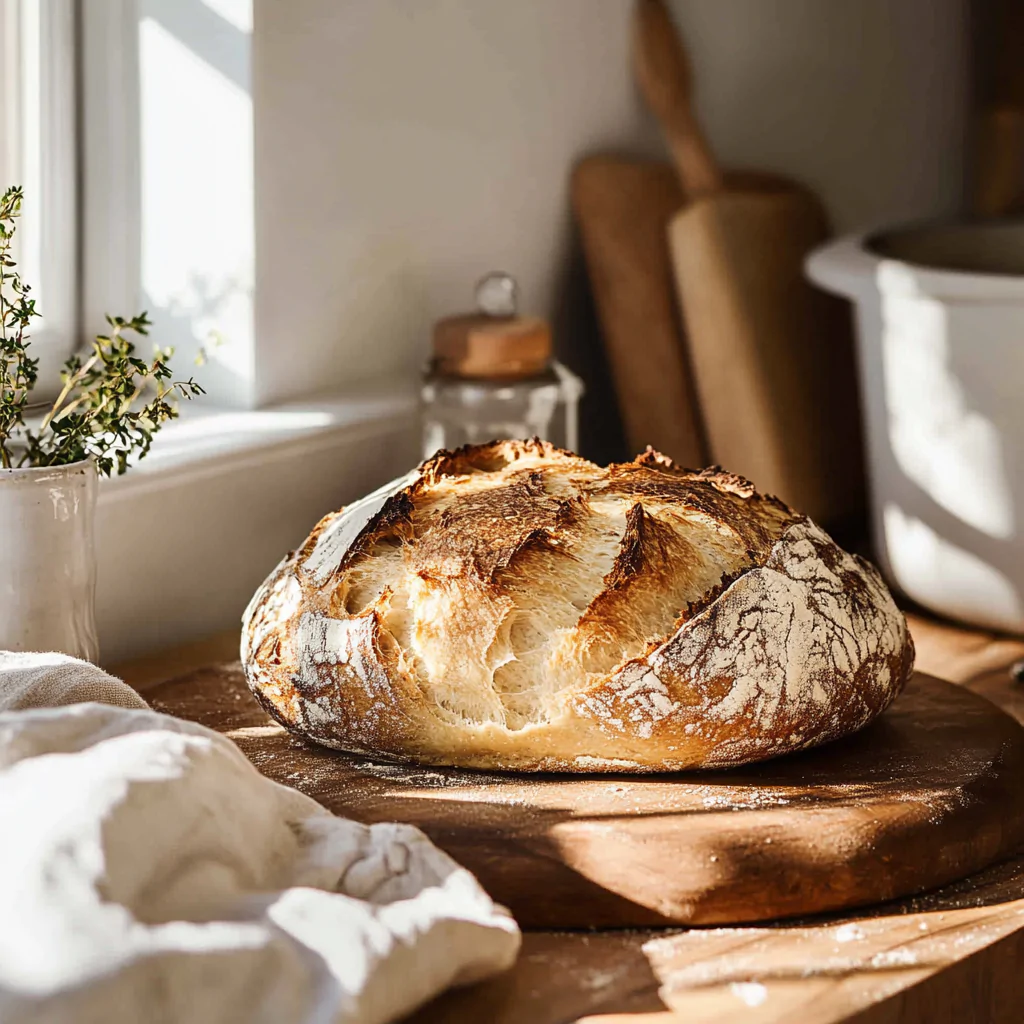
Finally, baking your bread in a preheated Dutch oven can dramatically improve crust formation. The enclosed space traps steam released from the dough while baking, creating a beautiful crust that’s crunchy on the outside yet soft inside. Preheat your Dutch oven for at least half an hour before placing your shaped dough inside for optimal results.
Suggestions for How to Make Sourdough Bread at Home: Beginner’s Tips
To effectively learn how to make sourdough bread at home, consider experimenting with different types of flour. While all-purpose flour works well, incorporating whole wheat or rye flour can enhance flavor complexity and nutritional value. Each type of flour brings unique characteristics that contribute positively to your final product.
Another suggestion is to document your process meticulously. Keep track of each step you take, including measurements, times, temperatures, and any variations you try along the way. This record will serve as an invaluable resource when troubleshooting future batches or perfecting your technique.
Investing in quality tools will also elevate your sourdough game significantly. A reliable kitchen scale ensures accurate measurements; a sharp lame or razor blade helps achieve beautiful scoring on top of loaves; and a sturdy bench scraper assists in handling sticky dough efficiently.
Finally, don’t hesitate to join online communities or local baking groups focused on sourdough enthusiasts. Sharing experiences with others who share similar interests creates an encouraging environment where you can learn from one another’s successes and challenges.
FAQs
What ingredients do I need for making sourdough bread?
To successfully make sourdough bread at home, you need only four basic ingredients: flour, water, salt, and a ripe sourdough starter. The flour provides structure; water activates gluten development; salt enhances flavor; while the starter introduces natural yeast into the mix for fermentation purposes.
How long does it take to make sourdough bread?
Making sourdough bread typically takes around 24 hours from start to finish when considering both preparation and fermentation times. However, actual hands-on time is minimal—most of the process involves waiting for the dough to ferment adequately between stages like mixing, shaping, proving (rising), and baking.
Can I use regular yeast instead of sourdough starter?
While it’s possible to use regular yeast instead of a sourdough starter when baking bread, doing so alters its flavor profile significantly since commercial yeasts don’t replicate that distinctive tanginess associated with traditional sourdough loaves made via natural fermentation methods.
Why is my sourdough dense?
A dense loaf often stems from insufficient fermentation or underdeveloped gluten structure due either too little rising time or incorrect kneading methods used during preparation stages like bulk fermentation / shaping processes prior baking them off into their final forms!
How do I know if my dough has risen enough?
One reliable method involves performing ‘the poke test.’ Simply poke the surface lightly; if it springs back slowly but leaves an indentation behind – indicating readiness – then it’s safe proceed onto next steps! Alternatively observe volume change visually comparing against original size noted earlier too!
What should I do if my starter isn’t bubbling?
If your starter fails bubble up after feeding regularly—this could indicate several issues: inadequate feeding schedule (consider increasing frequency), incorrect temperature conditions affecting activity levels (aiming warm environment), or possibly using old stale ingredients which could impact overall healthiness! Feeding fresh quality flours/water consistently helps revive dormant starters effectively over time!
Conclusion
In summary, mastering how to make sourdough bread at home is an exciting journey filled with learning opportunities and delicious rewards. Avoiding common mistakes such as inaccurate measurements or rushing fermentation will set you up for success right from the start. Implementing helpful tips like using a robust starter or practicing stretch-and-fold techniques allows you greater control over your dough’s development.
Experimenting with various flours adds depth while documenting every detail provides insights into refining future batches further—an essential part of becoming proficient at crafting artisanal loaves! Remember that patience plays an integral role throughout this entire process as well; good things come to those who wait—and soon enough you’ll be savoring freshly baked slices straight from your own oven!
Print
How to Make Sourdough Bread at Home: Beginner’s Tips
- Total Time: 13 hours
- Yield: 1 loaf 1x
Description
Learn how to make sourdough bread at home with this step-by-step guide for beginners. From creating your starter to achieving that perfect crust and airy crumb, this comprehensive tutorial will help you bake artisan-style bread in your own kitchen. With patience, simple ingredients, and these helpful tips, you’ll master the art of sourdough baking.
Ingredients
- For the Starter:
- 1/2 cup (60g) whole wheat or all-purpose flour
- 1/4 cup (60ml) water
- For the Dough:
- 3 3/4 cups (500g) bread flour
- 1 1/2 cups (375ml) water
- 1/4 cup (50g) active sourdough starter
- 2 tsp (10g) salt
Instructions
- Prepare the Starter:
- Combine flour and water in a jar, cover loosely, and let it ferment at room temperature for 5-7 days, feeding daily. It’s ready when it doubles in size and has a tangy aroma.
- Mix the Dough:
- In a large bowl, mix bread flour and water. Let it rest (autolyse) for 30 minutes. Add the starter and salt, mixing until combined.
- Bulk Fermentation:
- Let the dough rise at room temperature for 4-6 hours, folding it every 30-45 minutes to build structure.
- Shape the Dough:
- Turn the dough onto a floured surface, shape it into a round or oval loaf, and place it into a floured proofing basket or bowl.
- Final Proofing:
- Cover and refrigerate overnight (8-12 hours) to develop flavor and structure.
- Bake the Bread:
- Preheat the oven to 450°F (230°C) with a Dutch oven inside. Transfer the dough to parchment paper, score the top, and bake in the Dutch oven (lid on) for 20 minutes. Remove the lid and bake for another 20-25 minutes until golden brown.
- Cool and Enjoy:
- Let the bread cool completely before slicing to ensure the crumb sets properly.
Notes
- Maintain a consistent feeding schedule for your starter to keep it active.
- Use a kitchen scale for accurate measurements.
- Experiment with hydration levels to customize the texture of your bread.
- Prep Time: 12 hours (including fermentation)
- Cook Time: 45 minutes
- Category: Bread


